Get Started
Quick start and guides for installing and running Optimizely CMS project.
Notes
In this guide, we will create a new Optimizely CMS website for a fictional company named Precise Alloy. As you follow the setup steps, be sure to replace it with your company's name.
Prerequisites
-
Visual Studio or Visual Studio Code
-
.NET 8 SDK
-
SQL Server 2022 - Developer Edition
You'll need an account with SQL Server Authentication enabled.
Steps
Install the Optimizely templates
Install the Episerver CLI Tool
Create new Optimizely CMS website
Create a new folder named PreciseAlloy/PreciseAlloy.Web, open it in the command line, and run the following command:
(Note the .Web suffix):
This command will generate several files. Open the appsettings.Development.json file, delete the /ConnectionStrings block inside it, save it, and proceed to the next step.
Create new Optimizely CMS database
In the same folder, run the following command:
Whereas:
| Parameter | Meaning |
|---|---|
| -S | server name |
| -U | server username |
| -P | server password |
| -dn | database name |
Run the site
In the same folder, run the following command:
dotnet run
Notes
If you encounter the following error:
Unhandled exception.
System.InvalidOperationException: Unable to configure HTTPS endpoint. No server certificate was specified, and the default developer certificate could not be found or is out of date.
It means you haven't installed any developer certificates yet, or they have become invalid. Follow the steps in this link to resolve the issue and then rerun the above command.
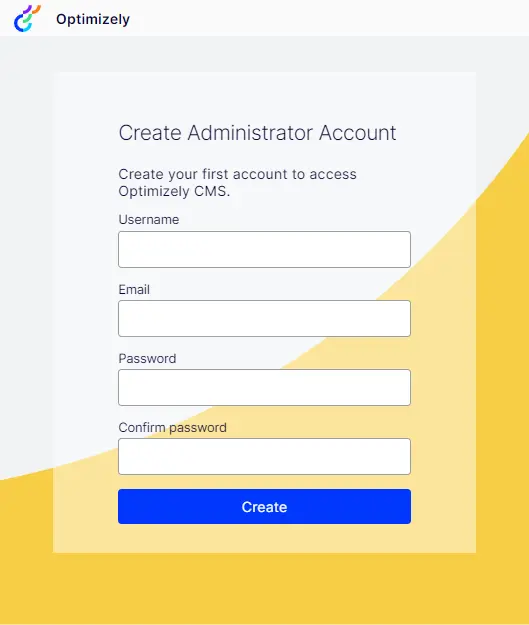
Open the site at https://localhost:5000. If everything is working correctly, you will be redirected to the registration page to create the first admin account.

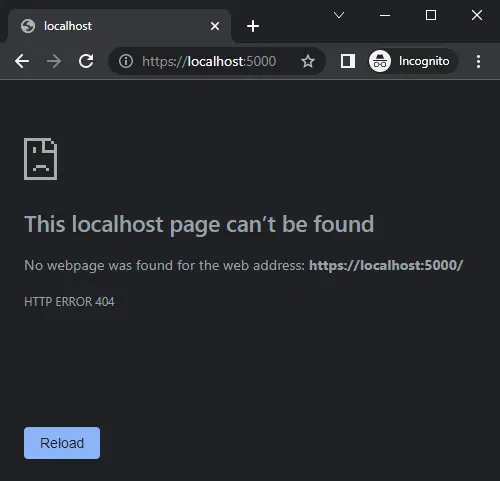
Enter a username, email, and password, then click Create. You should see the Not Found page:

This is not an error; since we haven't created any pages yet, the site has nothing to display. Now go to https://localhost:5000/episerver/cms, where you should see the Optimizely CMS interface.